After I made the ‘Give Thanks’ glass plate, Summer Rae left a comment that she had seen similar plates at her local Dollar Tree and sure enough I found a whole bunch of them at one of the local Dollar Trees in my area. At $1 a piece I could afford to create a new plate for each Holiday and change of season. Be sure to visit Latasha’s blog for her Dollar Tree gift card giveaway. Hurry though because it ends soon!
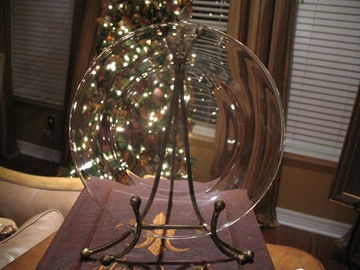
I started with this 10” clear glass plate.
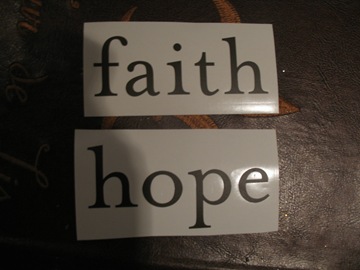
I had some vinyl lettering that I had never used that was the perfect size for the plate. The only catch was that I like to decorate the back of my plates to allow the embellishments to show through the front of the glass. This normally wouldn’t present a problem but vinyl letterings come with the adhesive on the back of the letters and I needed adhesive on the front of the letters. So instead of removing the backing of the vinyl letters, I removed the front paper. I then used spray glue to coat the front of the letters and applied them to the back of the plate. This technique worked but I was left with a lot of left over adhesive on the plate. I used glass cleaner to remove the glue once I thought the letters were secure but that didn’t work out so well. I suppose some of the glass cleaner got under the letters and a couple began to peel off. I had to reapply spray glue to the individual letters and attach each one to the plate. This is why some of the letters aren’t perfectly aligned. I am going to have to find a better technique next time.
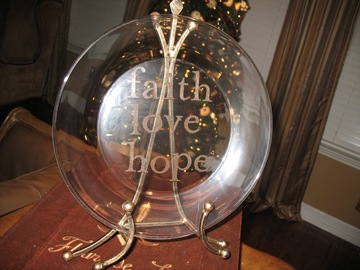
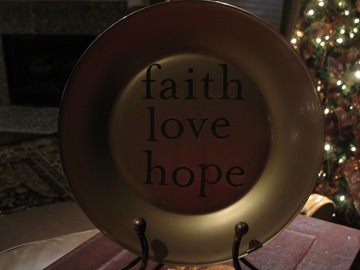
Here is the plate with the crooked letters attached. I just refused to abandon this project!
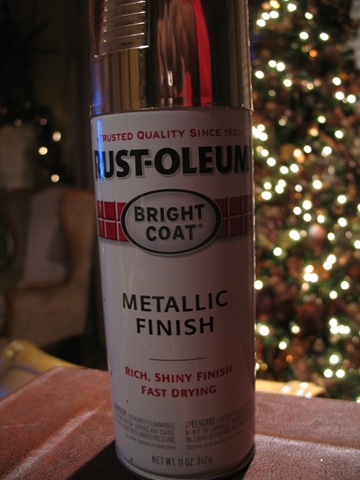
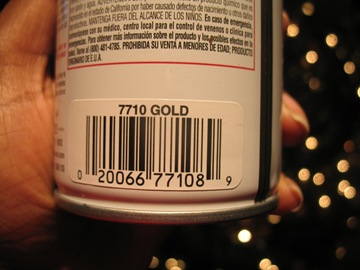
I added two coats of Rust-Oleum Metallic Gold Bright Coat to the back of the plate and finished it off with a coat of clear protective spray. I love this color – it is such a rich beautiful gold! I see many more future Christmas projects using this color.
I am linking up to Transformation Thursday at the Shabby Chic Cottage.

I am adding this project to Shanty 2 Chic’s Rust-Oleum Revamp party.
